|
This is a great economy grade antenna performance meter. It does have one major deficiency. Often, both the needles do not sit at zero. This can be corrected easily, as I will explain later. This is so common that all the on line advertisements I checked clearly showed the meters reading slightly up scale. I do not understand why they have not addressed this issue. But when you can get "hamfest specials" brand new from the dealer for only $30, this is an impressive value.
SPECIFICATIONS:
- 300 AND 30 WATT FULL SCALE
- 10% ACCURACY
- FREQUENCY 1.8 TO 200 MHZ
- OPTIONAL ILLUMINATION WITH EXTERNAL POWER SUPPLY (not required for operation)
- NOTE: Average reading only, not a peak reading device.
- Street price NEW: $55 at CheapHam.com or Quicksilver hamfest special at $30.
I like this on the separate antenna connector of my FT950 I dedicate to 6 Meters. My Ten Tec 1225 does not cover 6 Meters, the amplifier does not cover 6 Meters, and the Drake Low Pass Filter is a very sharp cut off device that eats anything above 45 MHz. All HF passes through the other FT950 connector. The lack of peak reading meter is not a disadvantage on FM.
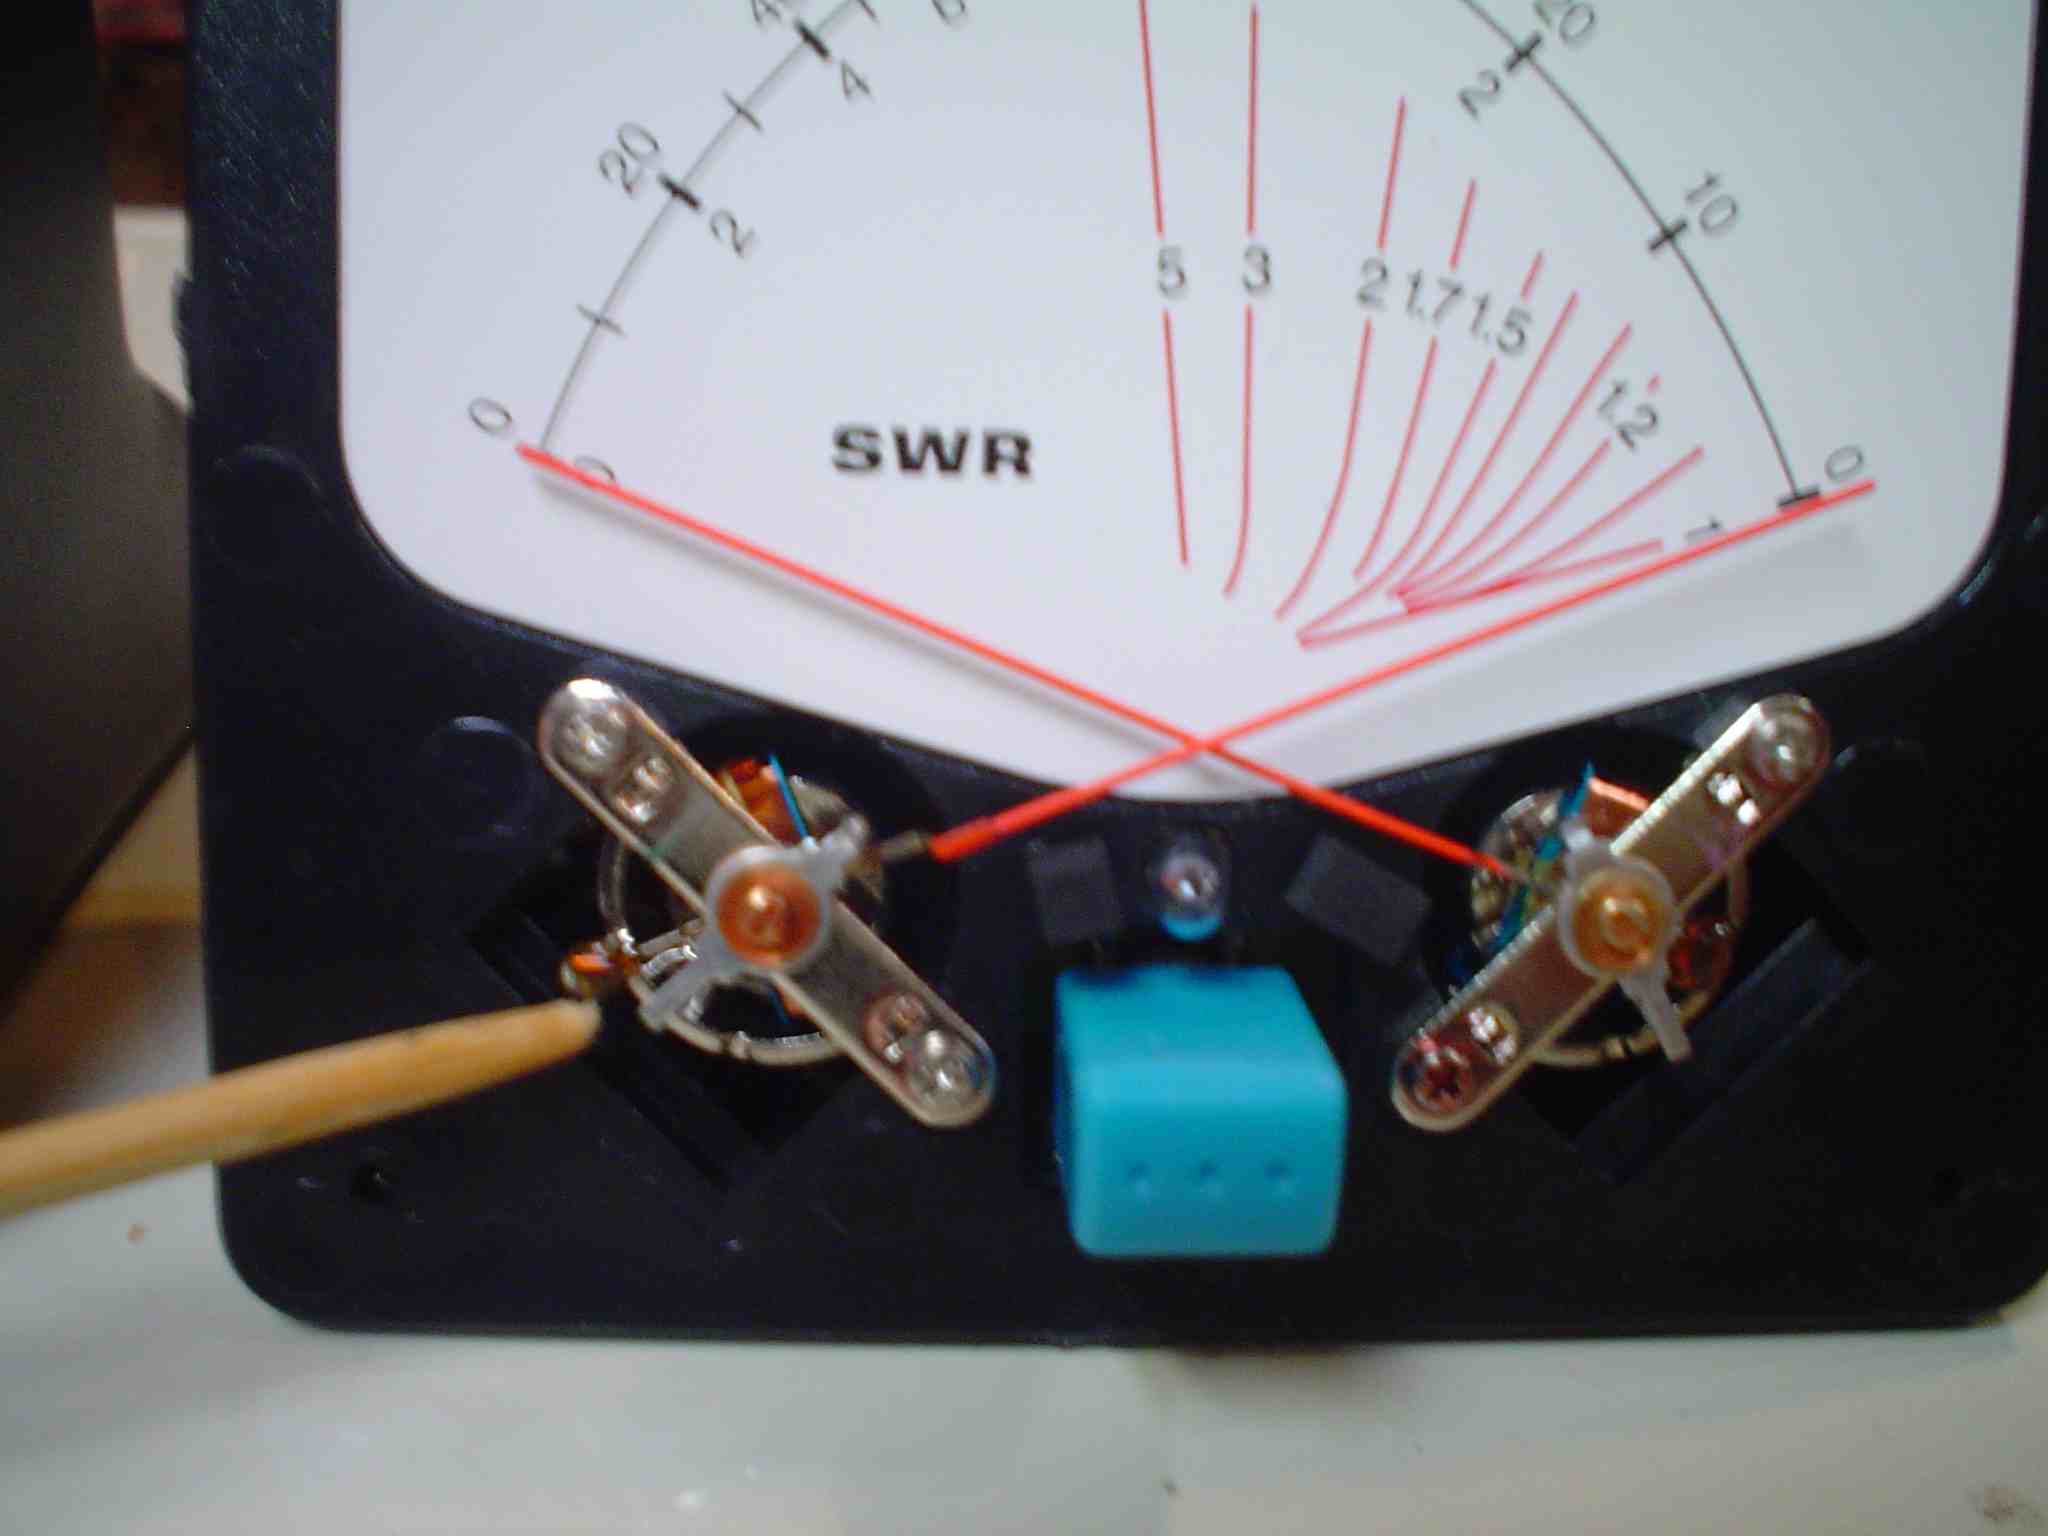
To adjust the meter zero, first get a draft free, very clean area cleared to avoid getting debris in the meter movement. Remove all magnetic material from the area to prevent contamination of deflection of meters. This includes magnetic screwdrivers. Also get some liquid Joy dish washing cleaner and have it handy for removing any static on the meter face. The meter zero adjustment is not in the front of the movement, with a screw. This one adjusts in the back, and requires disassembly. If you are not sure of yourself and steady of hand, do not attempt this. I will try to post a picture later showing the technique.
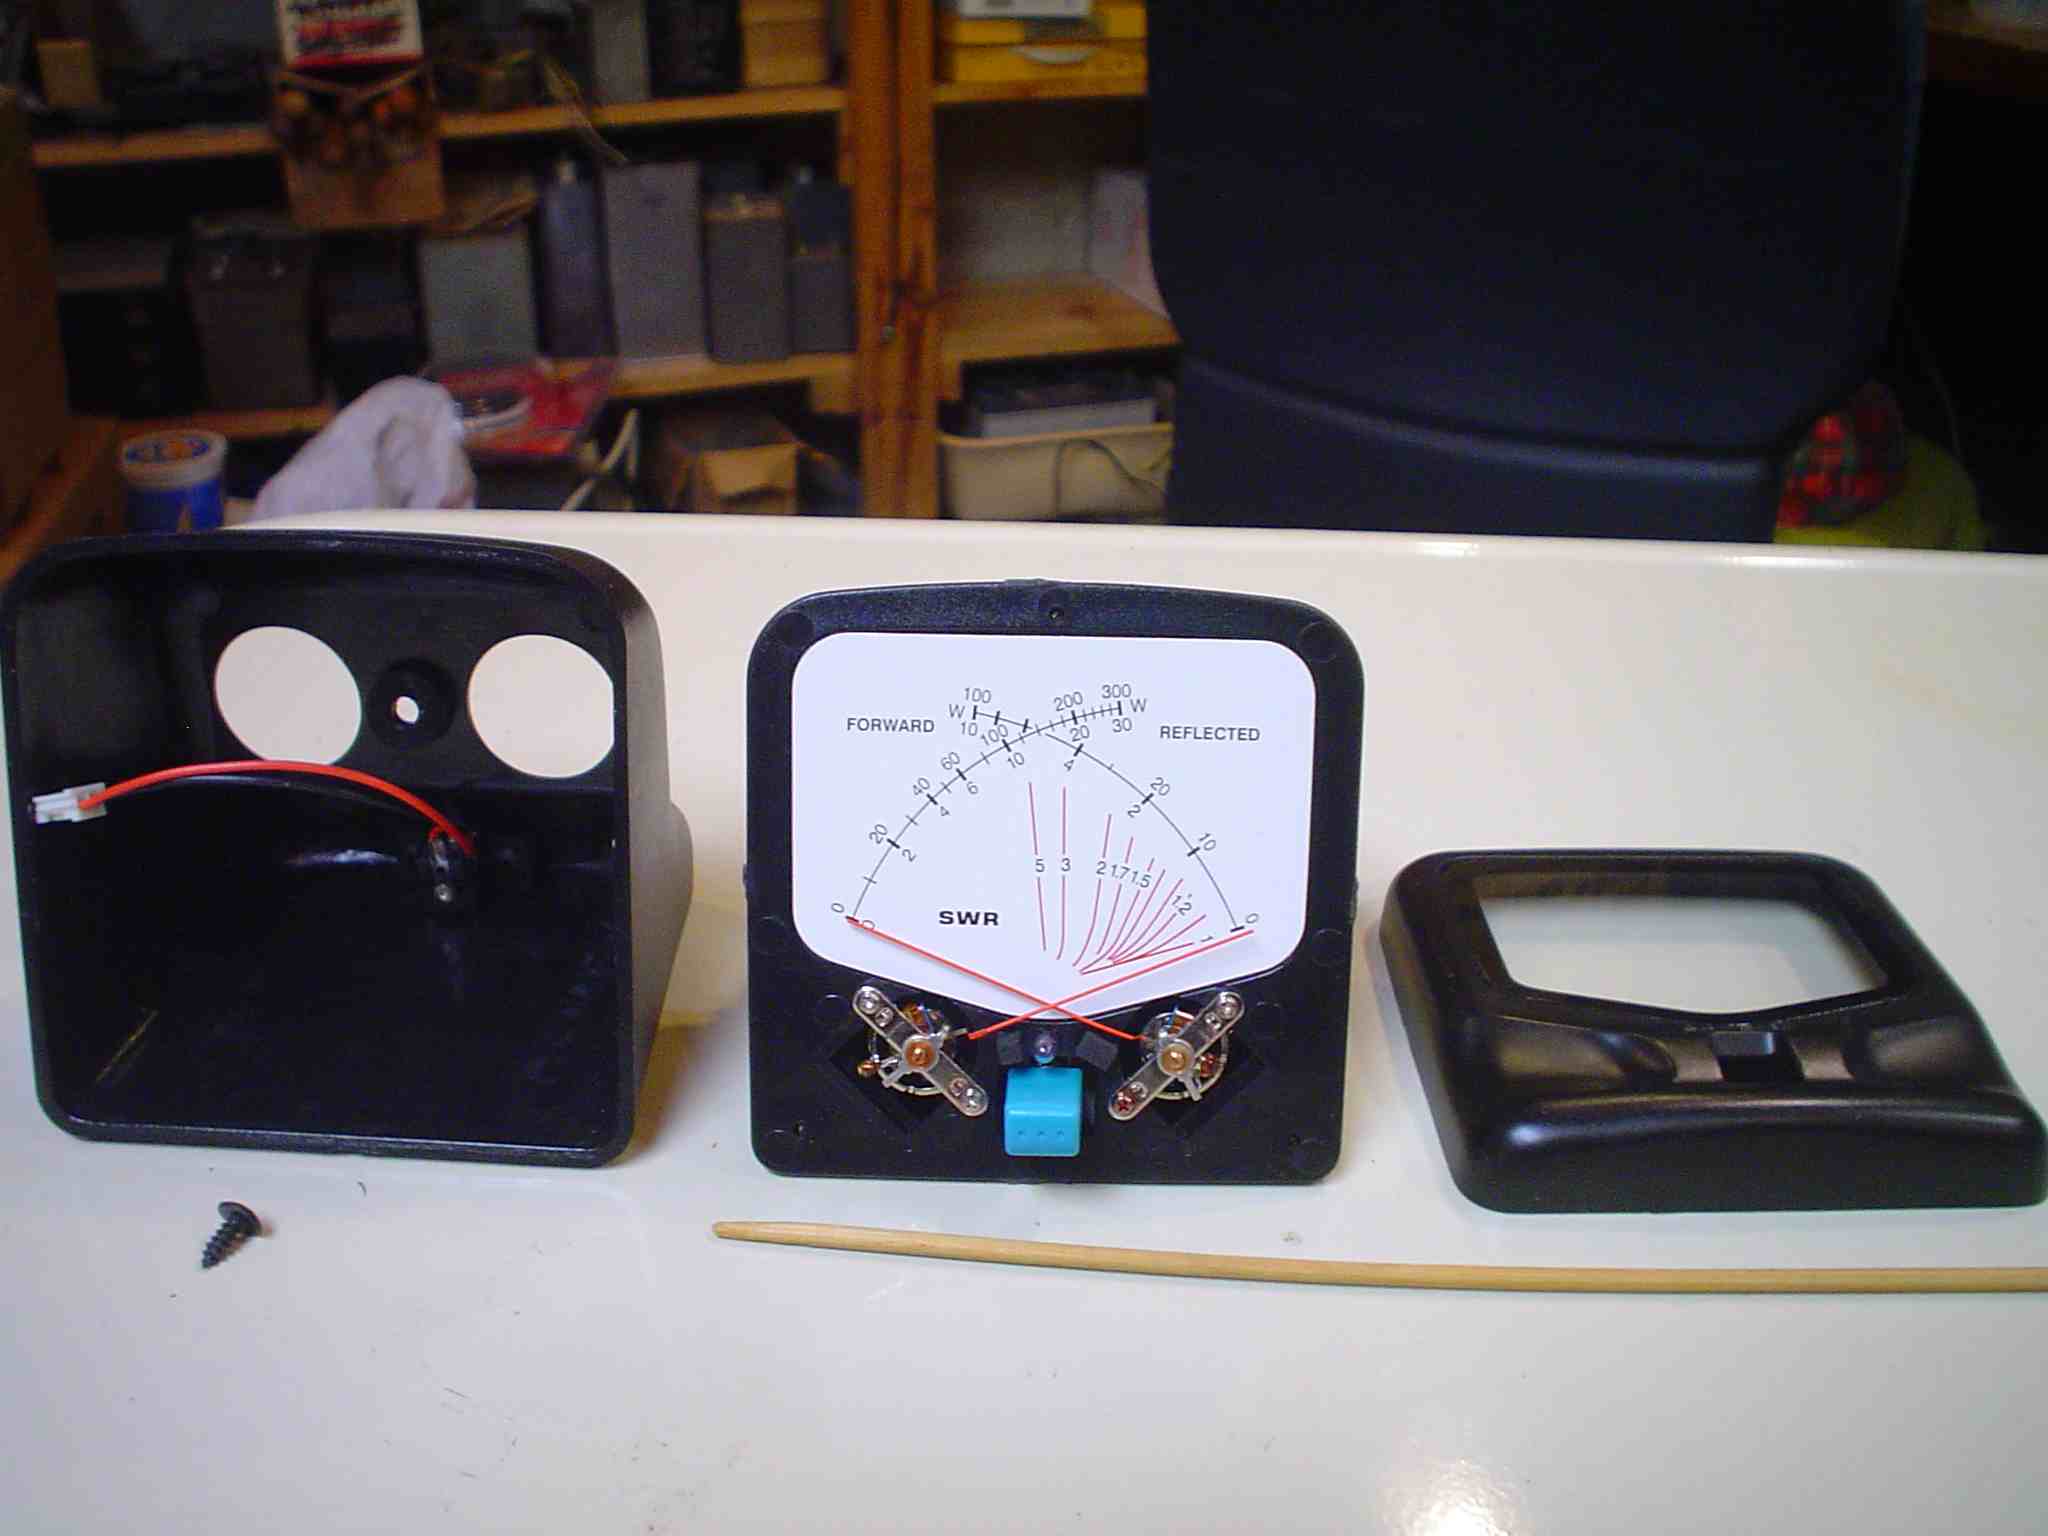
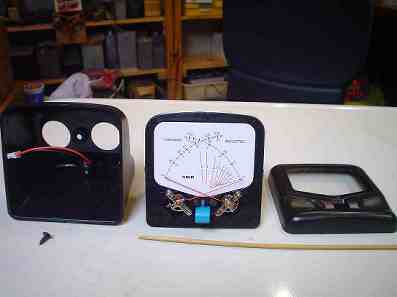
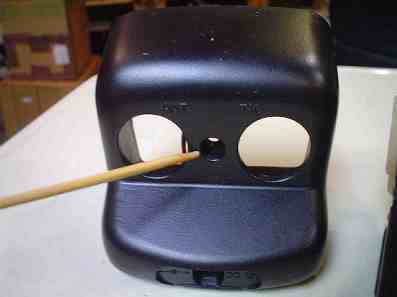
Look at the back of the case. You will see one small phillips head screw securing the back of the case to the unit. There were no nuts on the SO239 connectors that needed removal, but check yours carefully in case you do. Remove the screw and carefully pry the back case off. Do not lose the screw. Its metric.
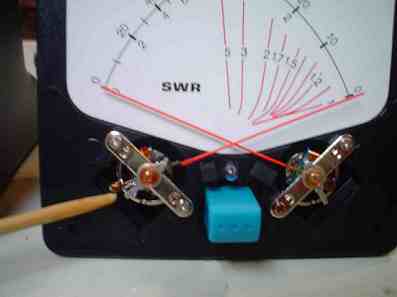
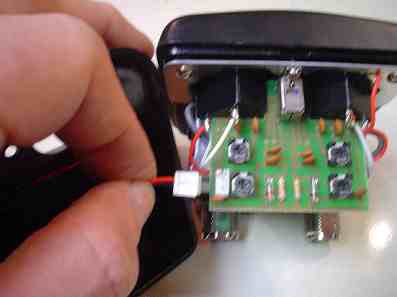
On the rear of the meter movements, note that there is a small lever. This lever will be used to adjust the movement to exact zero. First brush the meter face with the fleshy side of a finger. If the meter moves any, apply a very thin coat of the Joy dishwashing soap. This will remove any static in the plastic that will affect zero. Weston STATNUL is better, if you have it, but this will do. Now set the meter on a surface exactly as it would be used (to avoid gravity effects from sitting it on its side). Carefully adjust only the adjustment lever to bring the meter to zero. Gently shake the meter to see if it is sticking in position. Avoid contact with anything internal to the meter movement, in particular the fragile spring that provides conduction and suspension for the movement. It is similar in appearance to a helix shaped watch spring. (As a note for vintage projects, on damaged meters, I have been able to resolder this spring to restore operation when a replacement meter is not available. You have to be very quick with the heat and very gentle with a small soldering iron to pull this off!)
Once you are satisfied with the zero adjustment, replace the back cover and enjoy!
|